

How to Make Your Bed Look Fluffy in 9 Easy Steps
A bed can have clean sheets and pretty pillows and still look a little flat. The good news is that you do not need expensive hotel bedding to fix that. A few changes in how you layer, fold, and fluff what you already own can make a big difference.
If you have been wondering how to make your bed look fluffy, focus less on adding lots of decor and more on building volume in the right places. The duvet should look full instead of stretched flat. Pillows need enough support to stand up. Your top layers should overlap so the bed feels soft and inviting rather than tightly made.
This method works because each layer has its own job. The fitted sheet gives you a neat base. The top sheet adds depth near the headboard. The duvet creates most of the softness. Pillows build height at the back, while a loose throw adds one last relaxed layer.
You can finish the whole bed in about 10 to 15 minutes once your bedding is ready. Start with what you already have, then decide later if you want to add a second duvet insert or a few larger pillows.
Tap each box as you gather your bedding.
Tap a step for a quick preview before you begin.
1 Smooth the fitted sheet
2 Fold the flat sheet back
3 Add a second lightweight duvet insert
4 Fluff the duvet from every corner
5 Fold the duvet into a thick layer
6 Stand the sleeping pillows upright
7 Layer larger pillows in front
8 Add one small accent pillow
9 Drape a throw loosely across the bed
1. Smooth the Fitted Sheet Across the Mattress
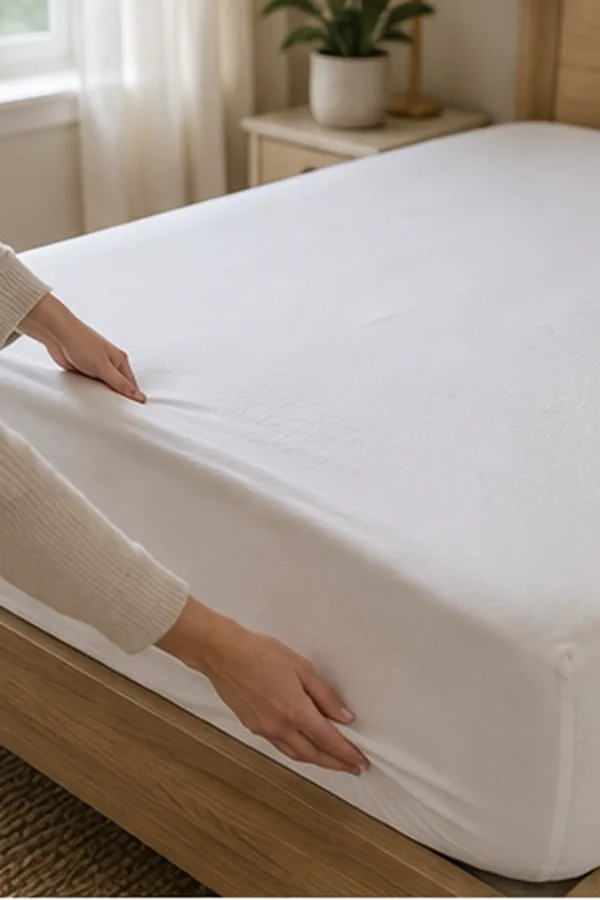
Pull the fitted sheet firmly over all four corners of the mattress. Run your hands across the top and push the larger wrinkles toward the sides.
You do not need a perfectly ironed sheet. The goal is to create a neat base so loose fabric does not bunch underneath the layers you add later.
Check the corners before moving on. If one keeps slipping off, the fitted sheet may not be deep enough for your mattress.
2. Fold the Flat Sheet Back at the Top
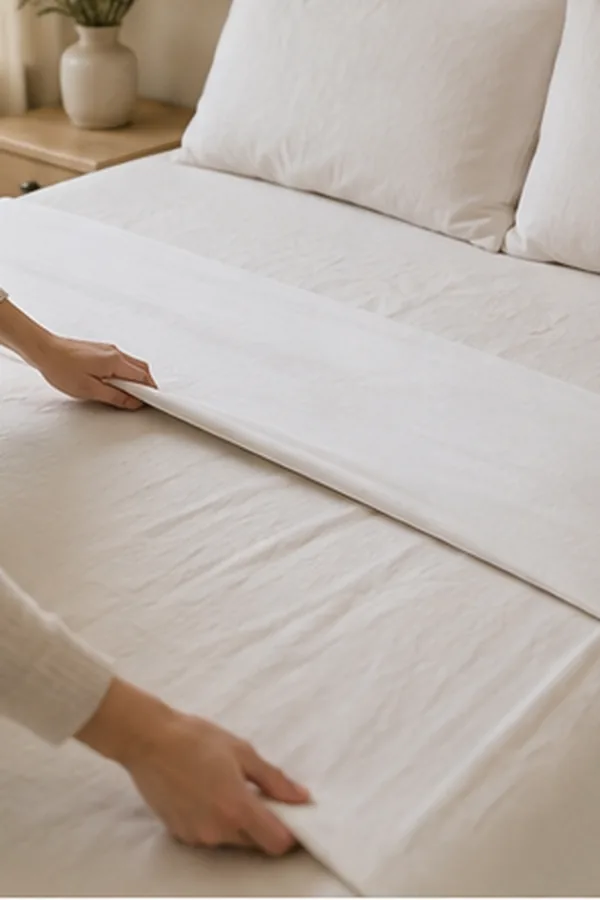
Spread the flat sheet evenly across the bed, keeping roughly the same amount hanging down each side.
At the head of the bed, fold the top 8 to 12 inches back toward the foot. Leave this fold soft instead of pressing it flat.
A little of the sheet will show once the duvet is folded back. That small strip creates another visible layer and helps the bed look fuller.
If you do not normally sleep with a flat sheet, skip this step. You can still get a fluffy look without it.
3. Add a Second Lightweight Duvet Insert
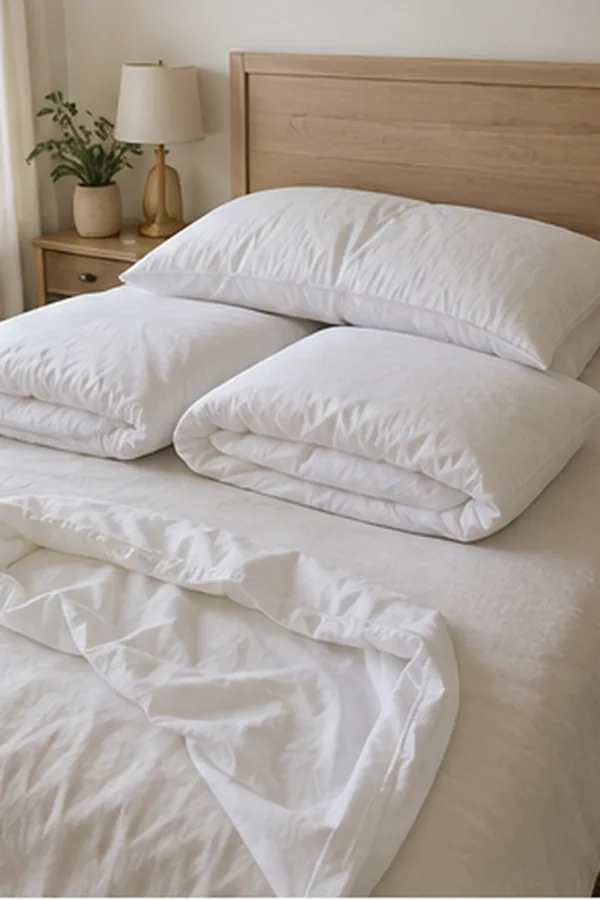
If your duvet looks thin even after you make the bed, place two lightweight duvet inserts inside one duvet cover.
Line up all four corners before closing the cover. Run your hands across the duvet to make sure one insert has not folded underneath the other.
This works best with light or medium inserts. Two thick winter duvets can become heavy and uncomfortable.
If your current duvet already looks plump, keep one insert. There is no need to add bulk you do not need.
4. Fluff the Duvet From All Four Corners
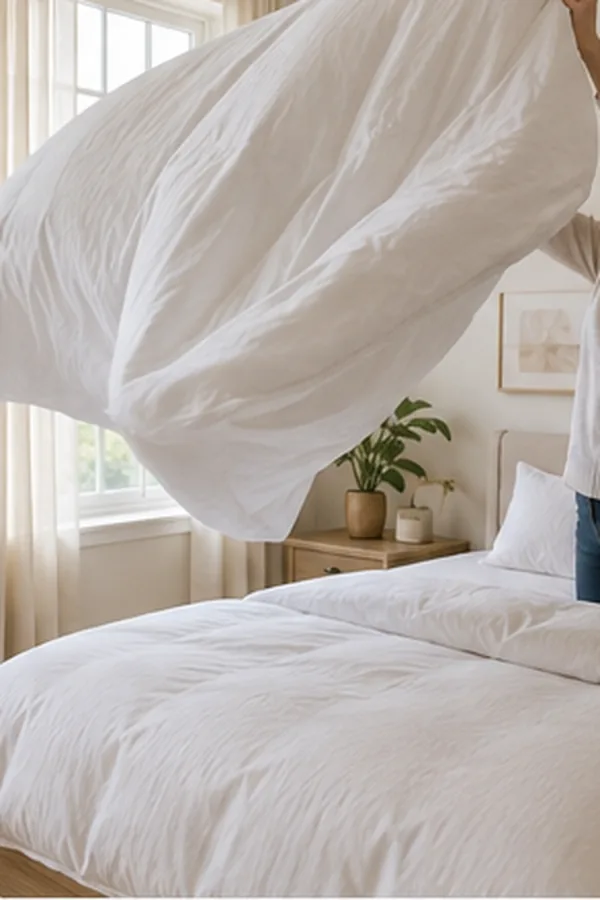
Grab two corners of the duvet and give it 3 to 5 strong shakes. Let it fall naturally back onto the mattress.
Move to the other end and repeat.
Now look for thin patches. If the filling has gathered in one spot, lift that section and gently work it outward with your hands.
Spend about 30 to 60 seconds doing this. A well fluffed duvet should look softly rounded rather than stretched flat across the mattress.
Once the cover is filled, lay the duvet over the bed with the top edge sitting 2 to 4 inches below the head of the mattress. You are ready to fluff it in place.
5. Fold the Duvet Back Into a Thick Layer
Pull the duvet evenly toward the head of the bed.
Fold the top 18 to 24 inches back toward the foot. If your duvet is long enough, fold that section over once more to create an even thicker band.
Here is the important part: do not flatten the fold with your hands.
Let it stay loose and rounded. That soft roll of fabric creates much of the plush look you see on hotel beds.
If you used a flat sheet, leave about 2 to 4 inches showing above the duvet.
6. Stand the Sleeping Pillows Against the Headboard

Give each sleeping pillow a firm squeeze from both sides to push the filling toward the center.
Stand them upright with the long edge resting on the mattress, then lean them slightly against the headboard.
For a queen bed, 2 full or queen pillows usually make a good back row. For a king bed, try 2 king pillows or 3 standard pillows.
If soft pillows keep falling forward, place a firmer pillow behind them. It can stay mostly hidden while giving the front pillows enough support to stand tall.
No headboard? Lean the back pillows against the wall, or place firm pillows behind the softer decorative ones.
7. Layer Larger Pillows in Front

Place your Euro shams or other large decorative pillows in front of the sleeping pillows.
Do not cover the back row completely. Let part of each layer show so the eye can see the depth.
On a queen bed, 2 large pillows are often enough. A king bed can usually handle 3 without looking crowded.
Give each pillow a quick fluff before setting it down. Hold the sides, push inward, then release. You want a soft shape with some height rather than a stiff square.
No Euro shams? Use the largest decorative pillows you already own.
8. Place One Smaller Accent Pillow at the Front
Finish the pillow arrangement with 1 small lumbar pillow or accent cushion near the center.
You do not need five or six tiny cushions. Too many can hide the larger pillows and make the bed look crowded instead of fluffy.
Choose something smaller than the pillows behind it so the layers gradually step down in size.
For a relaxed look, set the accent pillow slightly off center rather than measuring its position.
9. Drape a Throw Loosely Across the Bed
Take a throw blanket and place it across the lower third of the bed.
Resist the urge to make every edge perfectly straight.
Fold it loosely once or twice, then let one side fall a little lower than the other. You can also drape it diagonally across one bottom corner if you prefer a more relaxed look.
Give the duvet one final lift around the sides and puff any pillow that has flattened while you worked.
Step back before changing anything else. You should see three things: height at the headboard, volume through the duvet, and loose layers near the foot of the bed.
That combination is what makes your bed look fluffy without filling it with unnecessary decor.
Troubleshooting
Find what looks wrong, then try the matching fix.
Shake it again from every corner and work the filling into thin spots. If the insert itself is very thin, add a second lightweight insert.
Lay the duvet flat and pull the insert corners back into the matching cover corners before fluffing again.
Place a firmer sleeping pillow behind the softer ones so the front row has something solid to lean against.
Remove one decorative pillow layer. You should still be able to see the shape of each row behind it.
Lift the folded section with both hands and loosen it. Avoid pressing the fold against the mattress.
Drop one side lower or move the throw toward a corner. A little unevenness makes the final layer feel softer.
Frequently Asked Questions
How do hotels make beds look so fluffy?
Hotels often use full duvet inserts, crisp sheets, large pillows, and thick folds. The layers stay visible instead of being pulled tight against the mattress.
Do I need two duvet inserts?
No. Try two lightweight inserts only if your current duvet looks thin. A thick, high-loft insert can already provide plenty of volume.
How can I make a thin duvet look fluffier?
Shake it well, spread the filling into thin areas, and create a thick loose fold. If it still lies flat, consider adding another lightweight insert.
Should I buy a duvet larger than my bed?
Sizing up can give you more fabric for deeper folds and fuller sides. Check the actual measurements before buying because duvet sizes vary between brands.
How many pillows make a bed look fluffy?
Start with sleeping pillows, add one row of larger decorative pillows, then finish with one smaller accent pillow. More pillows do not always mean more volume.
Can I make my bed look fluffy without buying anything?
Yes. Fluff the duvet, stand your sleeping pillows upright, make a thick duvet fold, and loosely drape a throw you already own. These changes can add a surprising amount of volume.
Your Fluffy Bed Is Done
Once you know how to make your bed look fluffy, you start noticing that the biggest changes are often the smallest ones.
A loose duvet fold adds more volume than a perfectly flat one. Standing pillows upright creates instant height. Even a throw placed a little off center can make the whole bed feel softer.
You do not need to replace every piece of bedding at once. Start with what you already own, fluff it well, and build the layers one at a time. If you like a softer, calmer finish, these cozy neutral bedroom ideas show how fluffy bedding works with wood, cream, sage, and warm lighting.
Save this guide to Pinterest so you can pull it up the next time your bed needs a quick refresh.